watercolor paper
two colors distress inks or stain (I used Chipped Sapphire and Weathered Wood)
clear ink (I used Versamark)
clear embossing powder
heat gun
background stamp (or a stamp you can repeat to create a background)
clear Glimmer Mist (I used pearl)

Step 1
Use clear ink (Versamark or Embossing ink) to ink your stamp.

Here is my card front after stamping it, you can see the faint stamped image.

Step 2
Pour clear embossing powder over stamped images.

Here is mine, you can see the powder sticking to the ink.

Step 3
Heat the embossing powder to melt it. You will know it is melted when it gets shiny and raised. Here is what mine looked like after I heated it.

Step 4
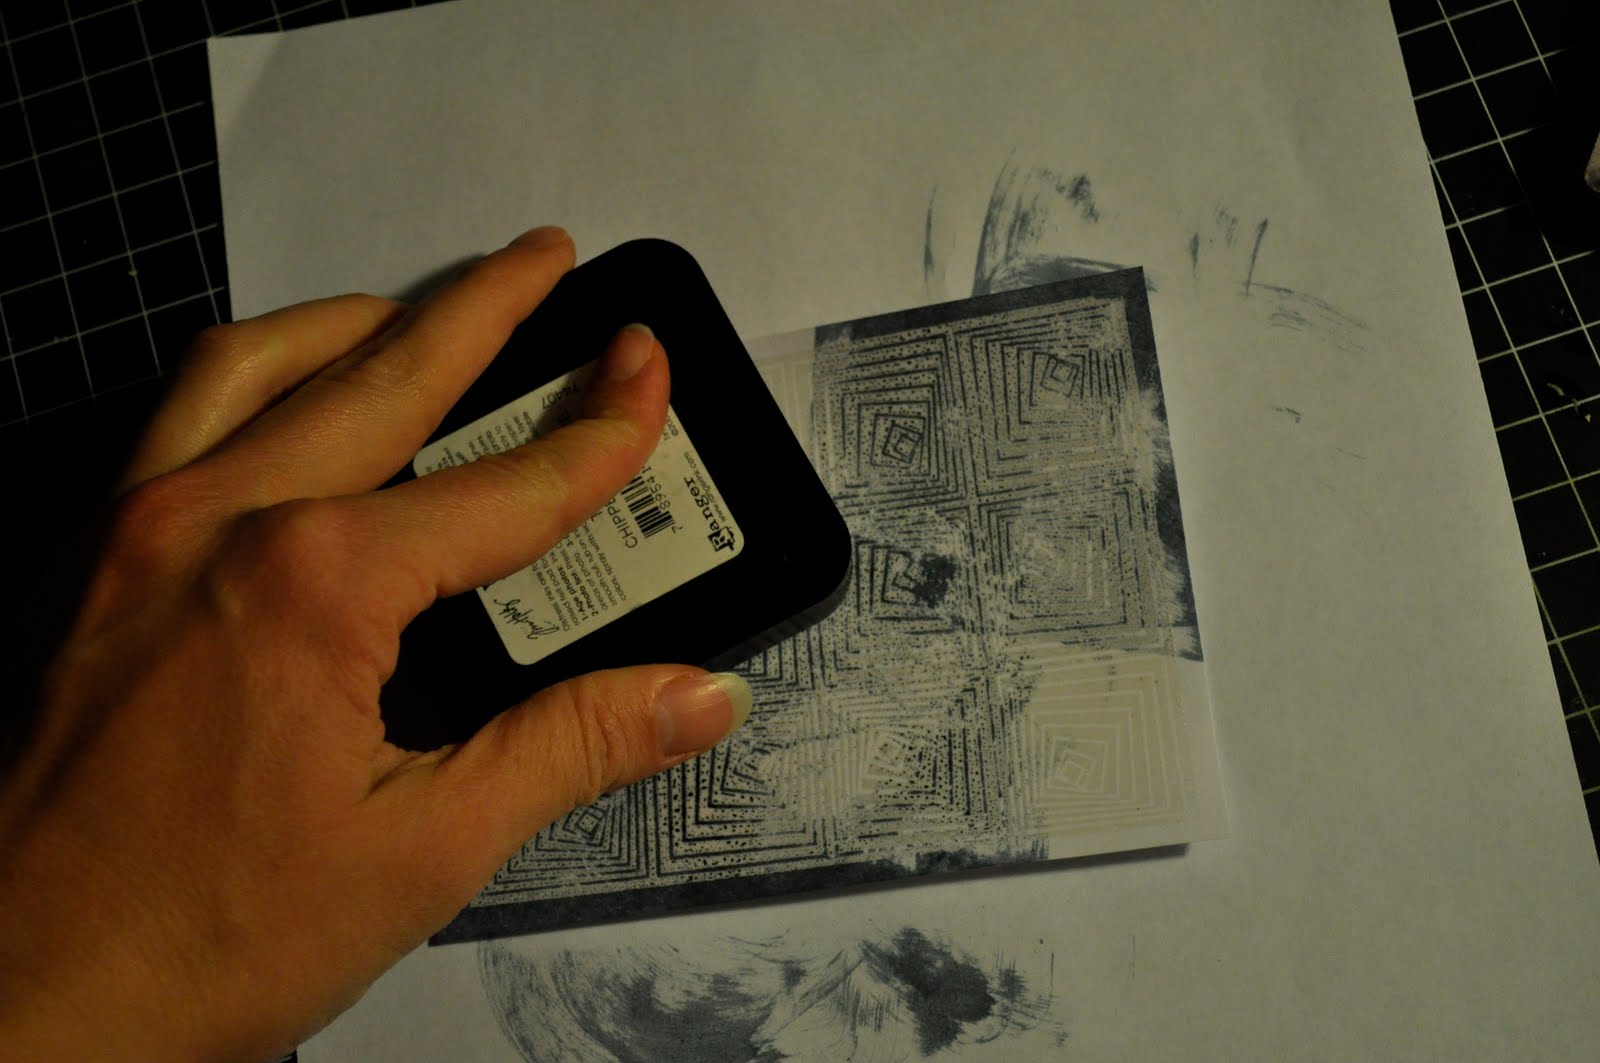
Take your lighter color of inkpad (or stain) and rub it over the design in patches.

Step 5
Take darker shade of ink and fill in until the paper is completely covered.

Step 6
Spray the paper liberally (10-12 pumps) with Glimmer Mist.

It doesn't look great now, but just let it dry...

Step 7
(This step is optional)
Once your paper is dry, you may notice some of the ink pooled on top of the embossing and dried there. To remove it, simply spray with water once or twice and wipe with a tissue. This is what the final product looks like:

On a side note, you definitely want to use watercolor paper for this technique because it is more absorbent than cardstock. I tried this technique first with cardstock, and as you can see the ink bled when I sprayed it with the Glimmer Mist.

Now you can add whatever you would like to complete your card or page:

Here is the card we made it class as another example:

So, there you have it, another fun technique! Come back next Monday and I will have the final technique to share! If you try this or either of the other techniques, link up your project so I can see what you did!
No comments:
Post a Comment