Hello again! I have a couple of layouts to share today using Sketches in Thyme sketches. First up is a dance layout using this sketch:
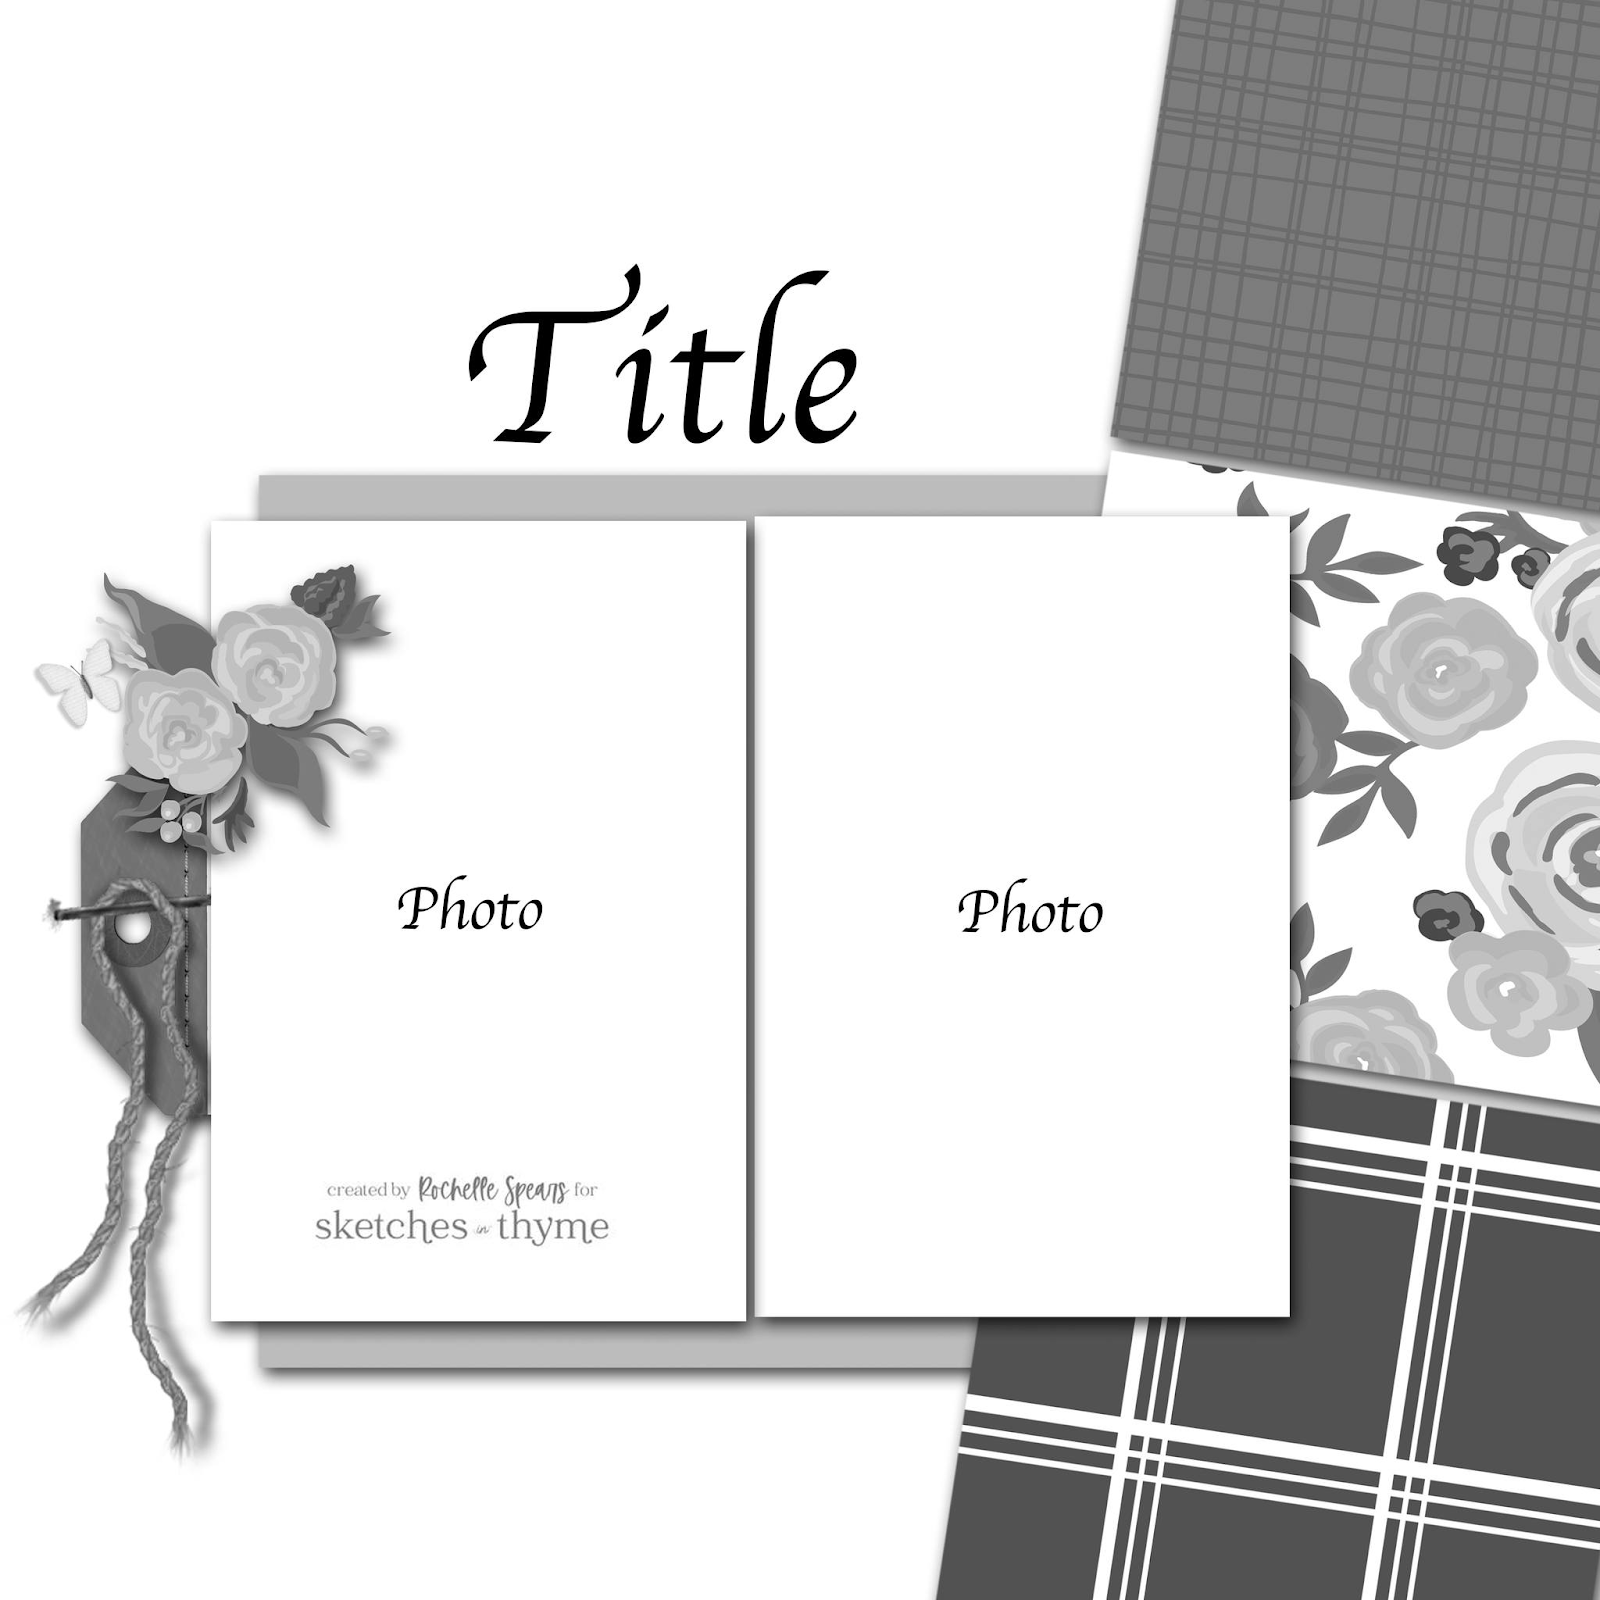
I started by finding blue patterned papers that coordinated with the color of the costumes in these photos. The papers I used were scraps of various sizes, so then I had to figure out how to make them fit. Once I got those and the photos adhered, I cut the title with my Cricut. I cut it once from patterned paper and three more times from white cardstock for dimension. I found a coordinating journaling circle and added the main info. I wanted add a little more info so I just wrote directly on the layout with that. To embellish the page, I used some stickers. I wanted a little more in the upper left corner of my photo, so I peeled up my photo and added some stamping. I finieshed off the layout with some blue gems.

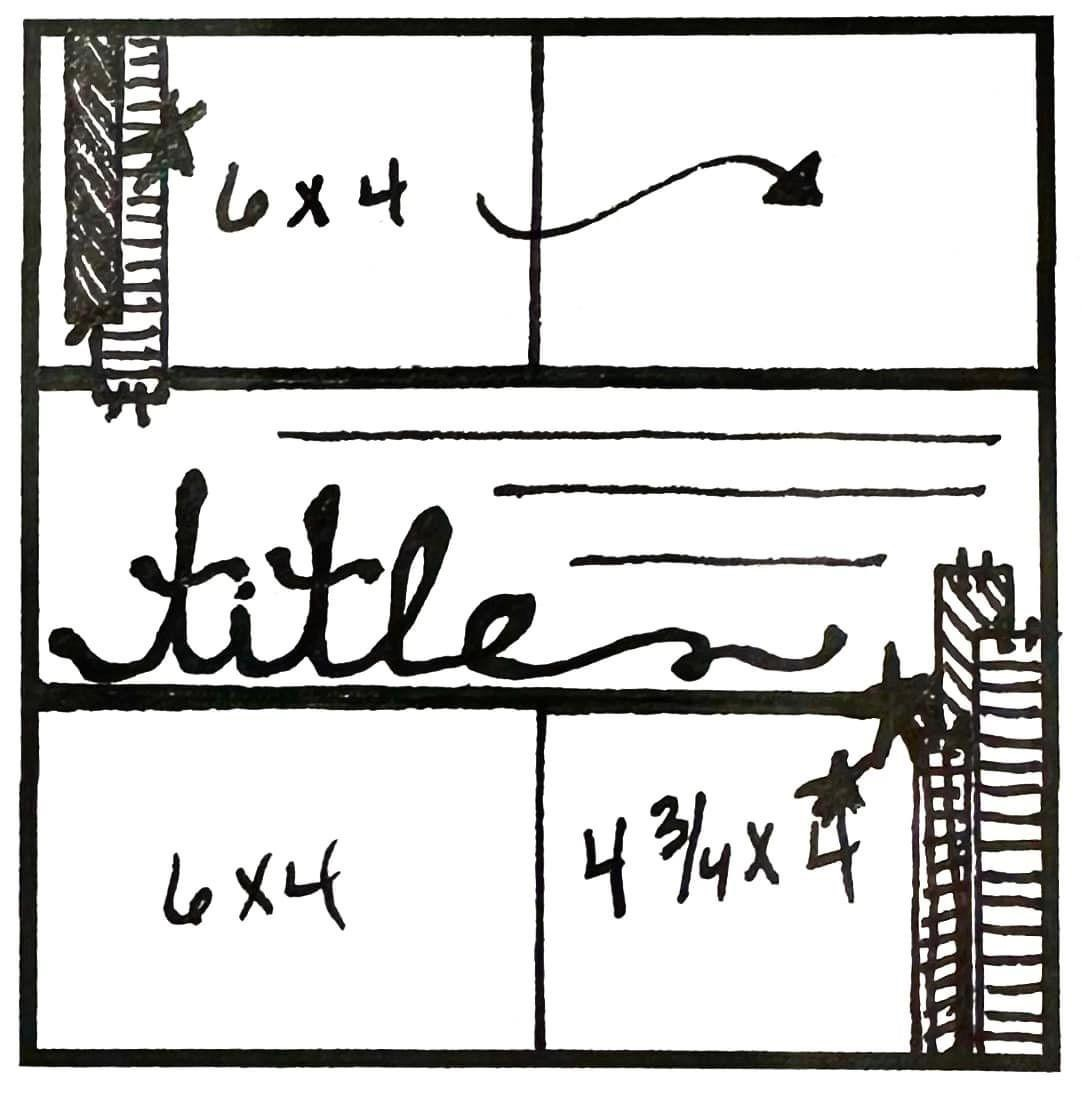
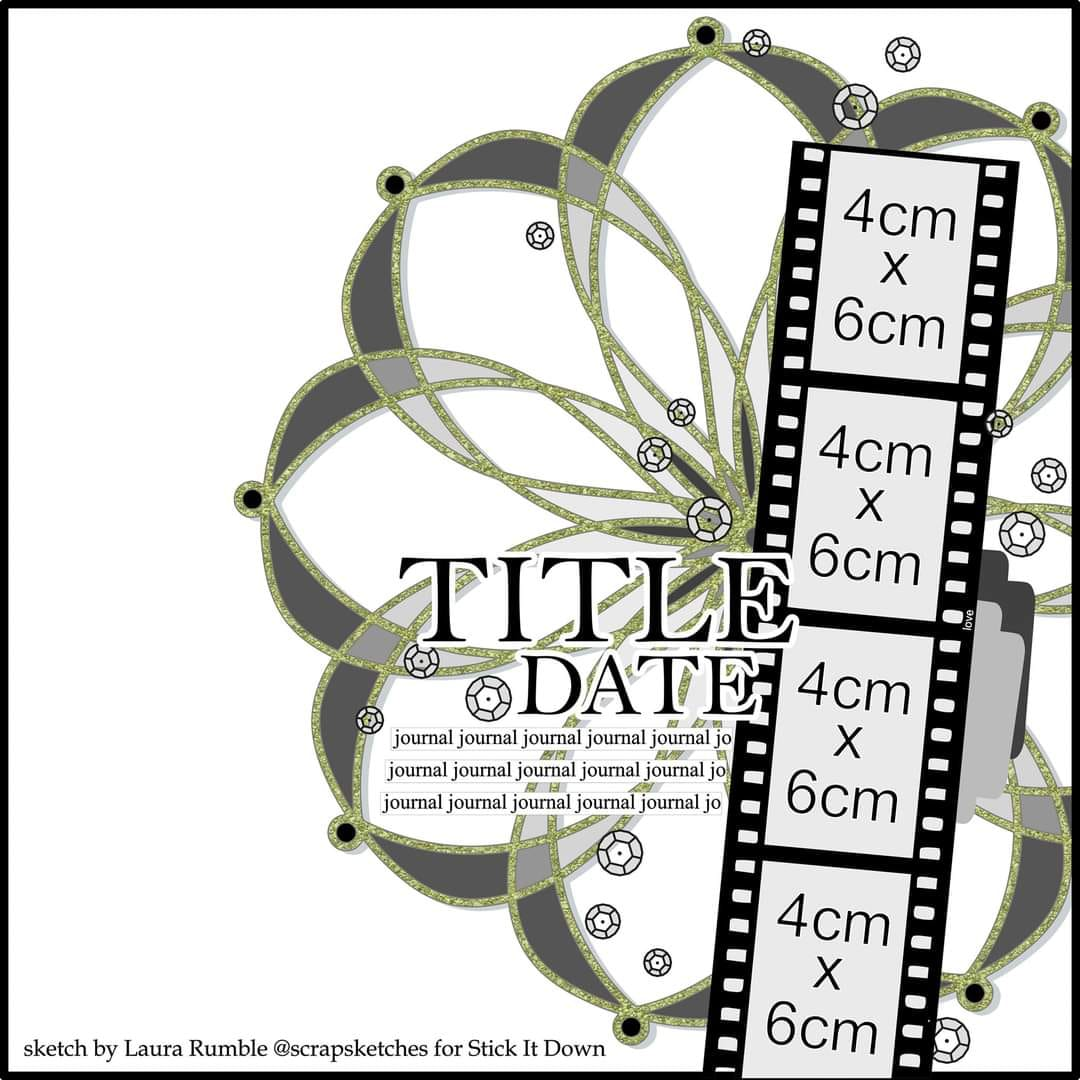
My photos didn't fit the sketch perfectly, but I made them work. I started by lining up the 4" tall photos across the bottom. Then I layered the last two photos and postcard over some patterned paper on the top. Instead of the strips used in the sketch, I fussy cut some flowers from another sheet of patterned paper. I stamped the word "fairies" and used letter stickers for "finding." I added some die cuts on either end of the title. To embellish the page, I used some foam word stickers and washi tape. To finish things off, I used Dirty Bronze Nuvo Drops.